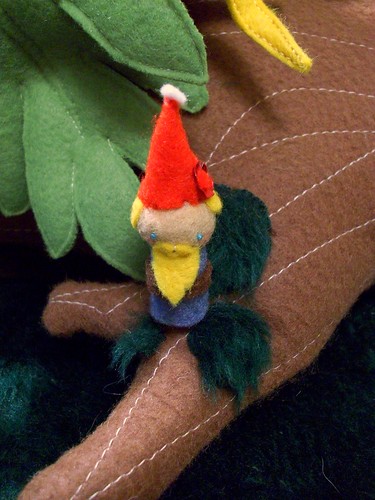
 Not sure why I felt the need to sew several families of teeny little gnomes, but here they are. These are rather easy to make. The head is just a circle of felt, gathered into a yo yo and stuffed. I traced the base of a spool of thread for the circle. I make french knots for the eyes before attaching the body to the head. The body is just a strip of felt, about 3/4" wide 3" long and tightly rolled and then stitched at the end. A tiny cone makes the hat and scraps of felt for the beard and belt. You can also make a tiny flower by cutting petals into a sequin. Embroidery scissors are quite handy for making the tiny cuts. These little guys are very quick and very cute. I think next I'm going to make them a tiny forest to live in, maybe a little hedgehog to ride about and mushrooms to live under.
Wednesday, October 15, 2008
Wee Little Gnomes
 Not sure why I felt the need to sew several families of teeny little gnomes, but here they are. These are rather easy to make. The head is just a circle of felt, gathered into a yo yo and stuffed. I traced the base of a spool of thread for the circle. I make french knots for the eyes before attaching the body to the head. The body is just a strip of felt, about 3/4" wide 3" long and tightly rolled and then stitched at the end. A tiny cone makes the hat and scraps of felt for the beard and belt. You can also make a tiny flower by cutting petals into a sequin. Embroidery scissors are quite handy for making the tiny cuts. These little guys are very quick and very cute. I think next I'm going to make them a tiny forest to live in, maybe a little hedgehog to ride about and mushrooms to live under.
Sunday, October 12, 2008
Styrofoam Skulls
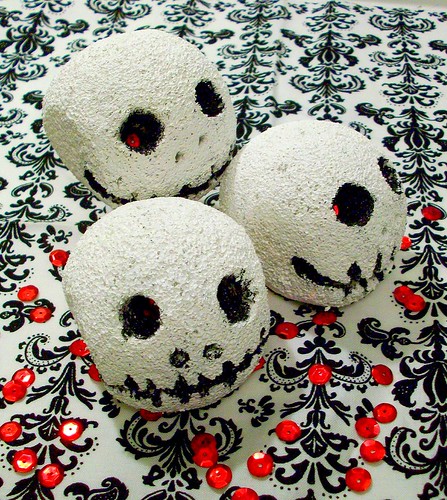 I made these little guys today. They'll be going on a Halloween wreath I think.
You'll need:
- Styrofoam balls (I used 3", but you can use whatever size you like)
- Butter knife
- Pencil
- White and black paint
- Red sequins and pins
- Paintbrush
- Sandpaper
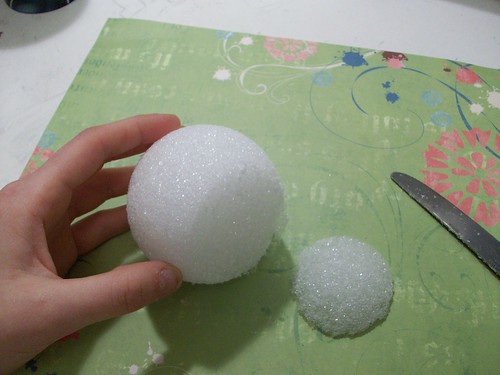
Start by cutting a small slice off the bottom of the ball with your butter knife.
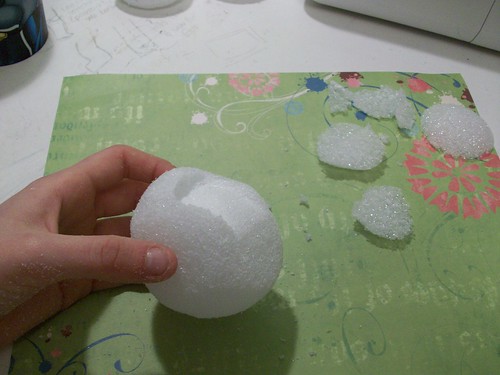
Cut another slice parallel to your first, at about a 45 degree angle to the last, making the front and sides rounded and the back squared off. This makes your jaw line.
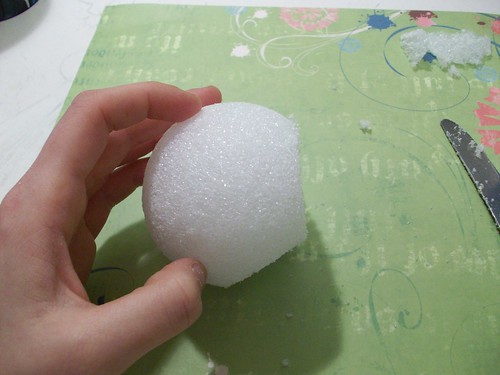 Set the ball so it's resting flat on the surface made by the second cut. Make a slice on each side, perpendicular to the first two slices. This makes the sides of your head.
Flip your little skull over and use the handle of the butter knife to make a jaw. Press in with the handle. Come close to were the chin is and along the sides you made with your last slices.
Use your pencil to make the facial features. Press the eraser end of the pencil in to the styrofoam where you want the eyes and move it in small circles to make the eye sockets. Use the pointed end of the pencil to make nostrils and the press in the teeth. Press the eraser straight in on either end of the mouth.
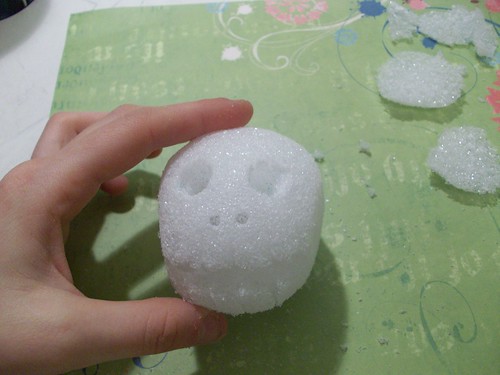 Sand along the edges of your cuts to smooth them down and make them look more natural. I painted my skulls to make them less shiny and see-through. If you're really impatient you can blast it with a hair dryer to dry it. Use black paint to highlight the eyes, nostrils, and mouth. I also put a red sequin into each eye socket to make it look more eerie, just stick a pin through the center of each sequin and press it in with the pencil eraser. Now you can use it however you like.
My First Craft Show
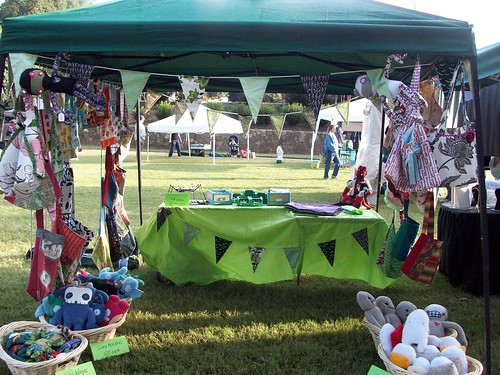
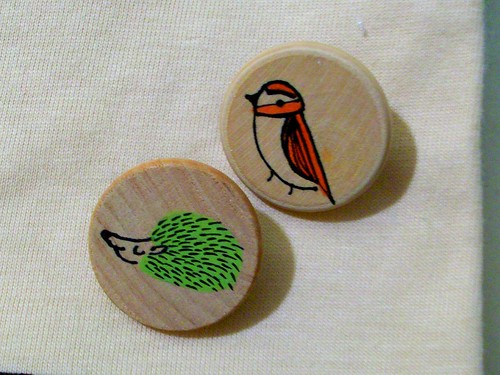
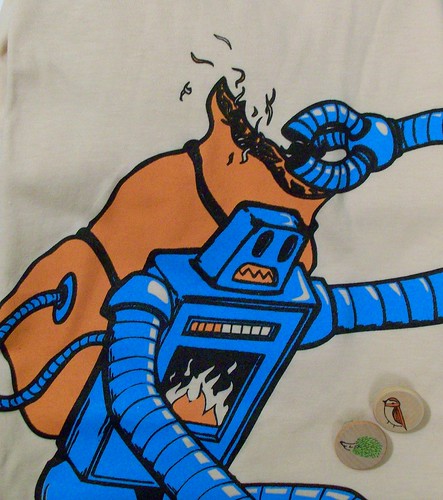
Wednesday, October 8, 2008
Still Prepping
Saturday, October 4, 2008
"Tone It Down"
While I would love it 85% of people would want to buy my stuff, I don't think that's ever going to happen. Everything has an audience. People will pay $50 for a grilled cheese sandwich with a religious figure on it. People will pay good money for a purse with a little vagoo on it. Some people like to make little plush mufflers with faces. And that's ok, that's awesome! Everyone is different and everyone has different tastes and what makes one person gag may make someone else stupidly happy. That's what I want. I don't care how much I sell, I want to make things that make me happy and that makes whoever buys it happy. You can go out to the store and buy a tote bag with your favorite sport team or a pillow with a teddy bear on it, where can you get a little sushi pin or a sushi monster or a stuffed zombie? From me, and THAT is why I make things. To have a little bit of me in the form or fabric or beads or clay. For the community. To see what little bits of themselves other people make.
New Things
I finished the aprons I was making. These were pretty much done, just some finishing touches.

I got 5 more completed. These are super easy and don't take more than a half yard on any of the pieces. The font and back are just fat quarter szed pieces with the tops two corners slightly tapered and the bottom two corners rounded. I make the ruffle by cutting two 5" by 45" strips, sewing them together and folding them in half along the width. I sew this with a basting stitch and high tension so the machine ruffles it for me. Then I just sandwich it, along with the straps, between the front and back pieces when I sew. Easy peasy. I think I have 11 of these to sell.
Bats and Kitty dolls.
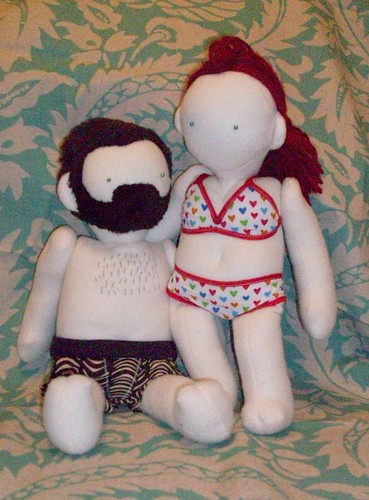
These are an original pattern. It's super easy to make and I'm planning on scanning and upoading the patterns as soon as I can. They're about 19" and 16". (I was actually sticking to patterns, rather than fudging as I went along to make sure I had accurate patterns.) So far they only have undies and pants, craft fair stuff had to take precedence over them. My doll is my first real attempt at yarn hair and I think it turned out fairly well after some playing. I just made bundles of thirty pieces and tied them in the middle, then stitched the center bit and the bottom layer to the head. Quite easy.
Applique pillows. So far I have owls, caterpillars, and octopi. There are spiders and monsters still waiting for backgrounds.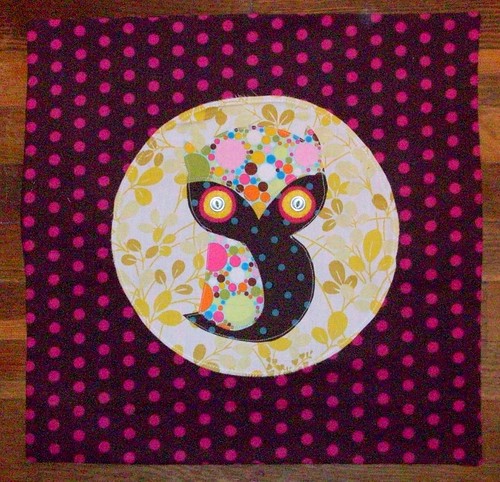
These are all 18" square shams. The appliques are made with paper backed fusible web and then stitched on to a background piece.
Wednesday, October 1, 2008
So Unproductive
Craft Attack is in less than two weeks and I'm a mix of super excited and nervous! I've made a few signs and need to make a few more, as well as some business cards. All the individual items need to priced too. I have a pop up shelter and pretty much all my decorations and displays ready to go. I've been working on some last minute items (aprons and pillow covers). Hopefully I can get some pictures of those posted tomorrow.

