Embroidery is great for the newly crafty for a myriad of reasons, one being that it's so easy and cheap to get started. There are very few materials needed and all are fairly inexpensive.
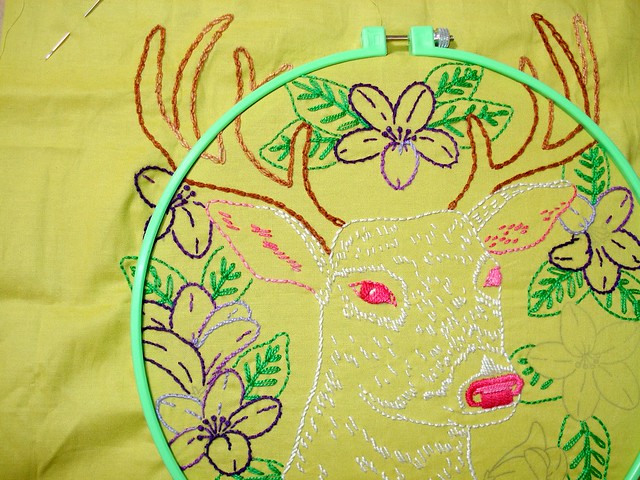
Your most important tool is a good hoop. An embroidery hoop is actually made of two hoops, a solid inner one and an adjustable outer one. To use, lay your fabric (nice side facing you) over the top of the inner hoop. The outer hoop then goes over the fabric and inner hoop, trapping the fabric. Put the fabric taut and tighten the screw on the outer hoop to keep everything in place.
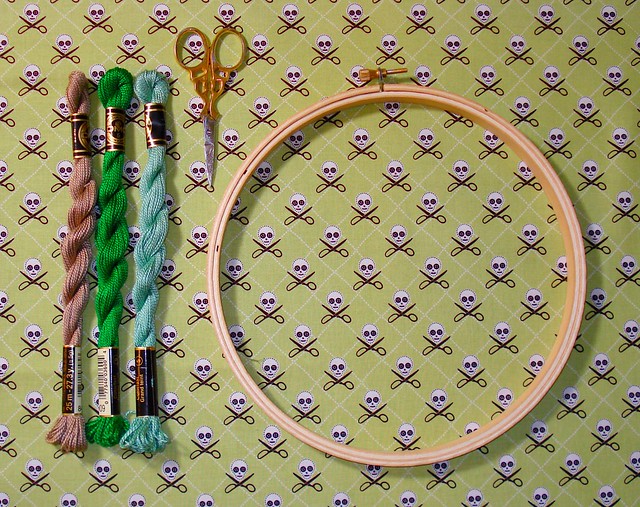
Embroidery hoops are available in many sizes. I find an 8" hoop the easiest to work with, but you will want to consider the size of your project to avoid too much waste fabric. Hoops come in wood (usually around $1) or colored plastic (around $2-3). The plastic will be a little sturdier and some have a "lip" to help hold the fabric.
Important tool number two is a good needle. There are many different types of needles that work for embroidery; you may want to experiment a little to find the one that feels most comfortable. Look for embroidery, chenille, and upholstery needles. Avoid cross stitch needles and other needles with dull points. Remember to size your needle to the thread or floss you are using. If the eye is too small, it will be difficult to thread and pulling the thread through your fabric will cause wear. If the needle is too large, you’ll have big holes at the ends of your stitches. The package should have a number on it corresponding to the needle size. The higher the number, the thinner the needle.
There are two basic kinds of thread, or “floss”, used in embroidery. The first is six strand floss, which is generally made of mercanized cotton. This is the type you’re probably familiar with; it comes in little skeins in approximately a million colors. Six strand can be pulled apart to make thinner strands.
The other main type of floss is a cotton perl. The cotton perl is twisted together. You can’t pull it apart to make different widths, but the trade off is that it tends to fray and tangle less.
In addition to these you can find specialty flosses in linen, metallic, variegated colors, satin, and rayon. Remember to test your floss for color fastness if you plan to wash your finished project.
Of course you'll also need something to embroider onto. You can embroidery on most anything you can pierce with a needle. When first starting out, avoid stretchy or very flimsy fabrics until you get the hang of stitch tension. Quilter cotton, like Kona cotton, is a good fabric to practice on and usually pretty inexpensive.
If you’re fabric feels a little thin, you can stabilize it one of several ways. The first is to use either water soluble or tear away stabilizer. These can be purchased with the interfacings at the fabric or craft store. The water soluble will turn sort of gooey and melt when submerged in warm water. The tear away needs to be trimmed away with small scissors. (Tear away is the kind you'll most often see on commerical machine embroidery.) If you don’t mind the stabilizer remaining, use a lightweight or mediumwight fabric interfacing or a spare piece of cloth to add some strength.
Now that you have all our supplies, you’ll need a design to embroider. There are many pre-printed hot iron transfers available. In stores, most of the ones you’ll see with be Aunt Martha’s, but you may also find some from Sublime Stitching. You can also find or draw your own patterns. Below are some places I like to try, but many designs and pictures translate well into embroidery.
http://www.flickr.com/groups/341081@N20/pool/
http://www.needlecrafter.com/patterns.html
http://www.stencilry.org/
http://www.loc.gov/pictures/
Ready to get started? I'll be going into transfer methods in the next post.