

Before you start, measure around your waist where you want the belt to sit. Add about 10 inches. Then gather up your supplies. You will need:

- Two strips of fabric measuring 4" wide by the length you determined. (If your fabric isn't long enough, just piece two bits together.)
- Fusible interfacing 3" wide by the length you determined less 1". (For example, if the length you determined is 40", you want to cut your fusible at 39".)
- A wooden or plastic ring. I used a shower curtain ring that came in a pack of 12 for like $1.50. Purse hardware or decorative belt buckles would also work well.
- Big huge snaps
- Matching thread
- Monster needle
- Marker
- Iron
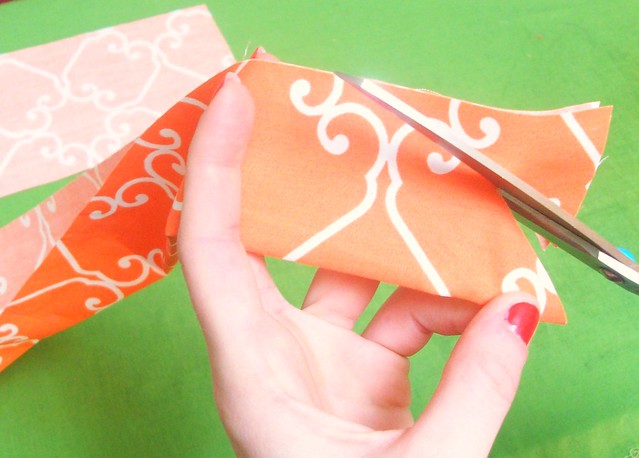
Fold your fabric in half widthwise and trim a sort of leafy shaped point. The shape is totally up to you, this will be the little fold over bits on the ends. Use the first one as a template for the ends of both fabric strips and the fusible interfacing.
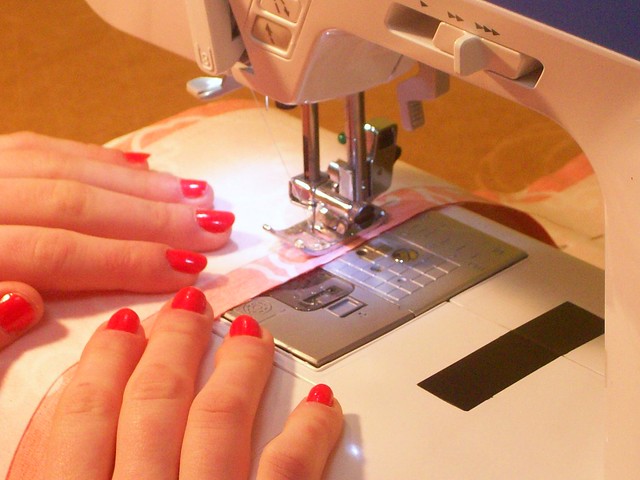
Center the interfacing onto the back side of one of the fabric strips and iron in place. Pin the fabric strips right sides together and sew together with a 1/2" seam, leaving a 2" gap for turning. (Sew right along the edge of the interfacing so it is not caught in your seam.)

Before turning, trim down the seam allowance on both tips. This will keep there from being too much bulky fabric. Turn right side out through the gap. Use a chopstick to push the seams out from the inside and press the edges with a hot iron. (It helps to kind of roll the edges in between your fingers before pressing.)
Once the belt is all pressed and pretty, wrap it around your waist and feed the ends through your ring, folding the belt back on itself. (Look at the picture at the top for reference.) Play with it until your sides are even, mark where each tip ends with a pin and remove from the ring. Fold one side over the ring, matching the end to where you marked with the pin.

Make several small stitches on each side, trapping the ring. (Since you are going through four layers of fabric and 2 of interfacing, this is where a monster needle comes in handy. I use an upholstry needle.)
Fold the other side of your belt over the ring, making sure your flaps are on the same side. Mark where the fabric folds over the ring and measure about 1" away. Stitch the male part of the snap in place (the one with the sticking out part in the middle), centering on the fabric.
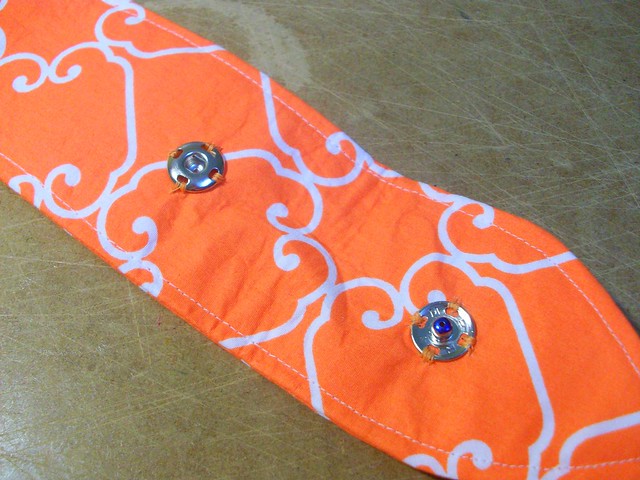
Color the sticky out part of the snap with a marker. (See how mine is blue?) While the ink is still wet, fold over and mark where the other side of the snap should go. Stich the other side of the snap in place. To take the belt on and off, just wrap pull through the ring and and snap.
I want to try one with some trim around the edges; I think ric-rac would be really cute. You can also sew a cute button and buttonhole instead of snaps.
so glad to find your blog !!!!
ReplyDeleteI love easy DIY projects and was looking for a simple cloth belt to make. Your's came up #4 !
Glad to meet ya!
Will be following you, too :)
Pop by sometime :)
Retro Reva
revasrags2roses.blogspot.com
Thank you and I'd love to see the finished project!
ReplyDelete