Wednesday, April 13, 2011

The Cuddling Dead

I have been absolutely BURIED in commissions. (Buried, get it?) A feature on Comics Alliance brought in a ton of work and I have been sewing my little fingers to the bone. Watch out for more pictures this week!
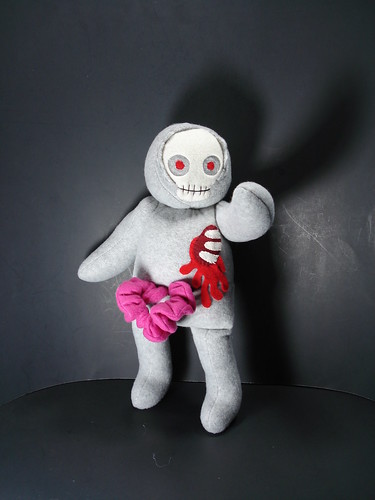
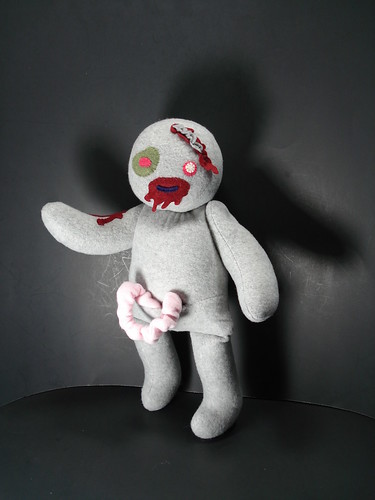
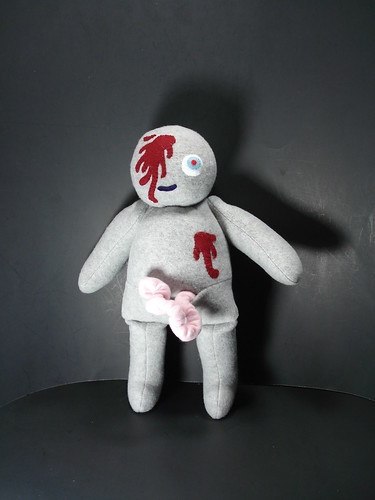
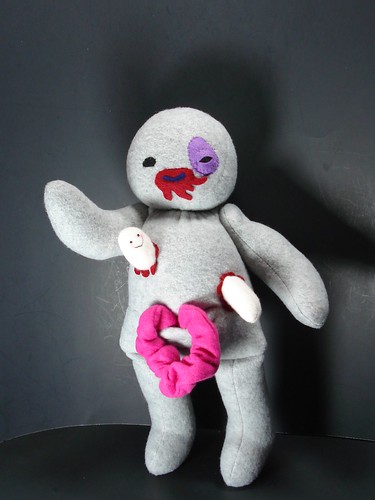
I'm also getting ready for Heroes Con in June and having a mild panic attack. While I've attended Heroes for several years, this will be my first year as a vendor. I've never done anything with this many people and I'm super excited. On that note, here is the first batch of little guys for the convention. Of course they're plush zombies, silly.

Mr. Skully Face
Each one has little intestines that can be pulled out or stuffed into a tummy pocket. Nothing says "snuggle me" like evisceration, right?

Mr. Head Trauma
 Each one also has a different design, with hand sewn blood splatters and wounds.

Mr. Eyeball
I'm going to do similiar ones in several different colors. I'm thinking dank, olive green and a lifeless pale blue.

Mr Decomposer and Worm Friend
I hate to play favorites with my undead sweeties, but I totally love this little guy with his wormy friend peeking out of his chest.

Mr. Decomposer Detail
  Wallpaper sized images are available for Mr. Decomposer and Mr. Skully Face on my Flickr.

Sunday, February 13, 2011

For the Birds

I'm taking a little non-embroidery themed interruption for a good cause. My lastest project is for a charity auction for Journey Towards Sustainability to pay for Eco-N-Motion  mobile education. The mobile classroom will travel to schools and other venues in the Charlotte area to teach kids
about sustainability and the enviornment.

The theme is based around birdhouses and I knew when I decided to participate that I wanted to make a cuddly tree friend similiar to this plush I made is 2008. I made a few updated and changes to the design and I am really happy with how it turned out.


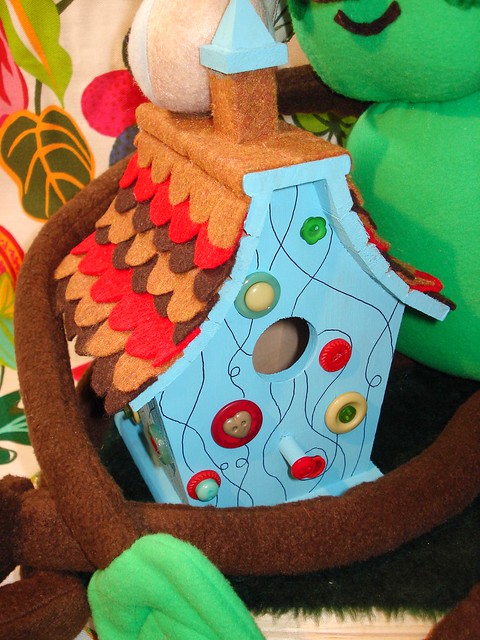
Birdie lives in his cute blue house, protected by Tree Friend. The house is attached to the base, which is covered in green faux fur "grass". Birdie has a bit of velcro on his tummy so he can sit on his house or be taken off for play. Tree Friend has velcro on his leaf hands so he can hold Birdie or hug with his long branch arms. When not being played with, he can wrap around Birdie's house to protect it.

Birdie's house is decorated with buttons and cute felt shingles. The felt is made from recycled plastic bottles!


Birdie was based off a pattern from Fun Dolls by Aranzi Aronzo. I made the chest a different color and used fleece instead of jersey. The beak and eyes are beads. I really love how cute he turned out and I want to make more! I also really like how Tree Friend's "branch" nose turned out. I rolled and stitched together two long, thin strips of brown felt. His leaf hair is made from fleece stitched between two pieces of cotton.

If you're in the Charlotte area, tickets are $20 and the fundraiser is March 31. You can find more information here. (The submission date has been changed from January 25th to February 15th.)

Friday, February 11, 2011

Embroidery 101: Supplies


Embroidery is great for the newly crafty for a myriad of reasons, one being that it's so easy and cheap to get started. There are very few materials needed and all are fairly inexpensive.

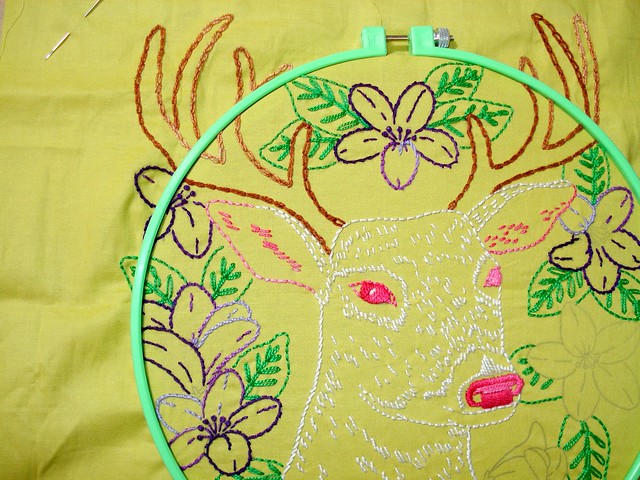
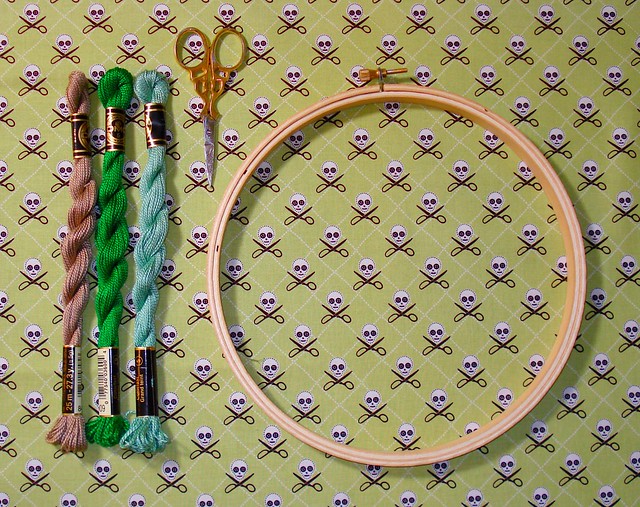
Your most important tool is a good hoop. An embroidery hoop is actually made of two hoops, a solid inner one and an adjustable outer one. To use, lay your fabric (nice side facing you) over the top of the inner hoop. The outer hoop then goes over the fabric and inner hoop, trapping the fabric. Put the fabric taut and tighten the screw on the outer hoop to keep everything in place.
Embroidery hoops are available in many sizes. I find an 8" hoop the easiest to work with, but you will want to consider the size of your project to avoid too much waste fabric. Hoops come in wood (usually around $1) or colored plastic (around $2-3). The plastic will be a little sturdier and some have a "lip" to help hold the fabric.

Important tool number two is a good needle. There are many different types of needles that work for embroidery; you may want to experiment a little to find the one that feels most comfortable. Look for embroidery, chenille, and upholstery needles. Avoid cross stitch needles and other needles with dull points. Remember to size your needle to the thread or floss you are using. If the eye is too small, it will be difficult to thread and pulling the thread through your fabric will cause wear. If the needle is too large, you’ll have big holes at the ends of your stitches. The package should have a number on it corresponding to the needle size. The higher the number, the thinner the needle.
There are two basic kinds of thread, or “floss”, used in embroidery. The first is six strand floss, which is generally made of mercanized cotton. This is the type you’re probably familiar with; it comes in little skeins in approximately a million colors. Six strand can be pulled apart to make thinner strands.
The other main type of floss is a cotton perl. The cotton perl is twisted together. You can’t pull it apart to make different widths, but the trade off is that it tends to fray and tangle less.
In addition to these you can find specialty flosses in linen, metallic, variegated colors, satin, and rayon. Remember to test your floss for color fastness if you plan to wash your finished project.


Of course you'll also need something to embroider onto. You can embroidery on most anything you can pierce with a needle. When first starting out, avoid stretchy or very flimsy fabrics until you get the hang of stitch tension. Quilter cotton, like Kona cotton, is a good fabric to practice on and usually pretty inexpensive.
If you’re fabric feels a little thin, you can stabilize it one of several ways. The first is to use either water soluble or tear away stabilizer. These can be purchased with the interfacings at the fabric or craft store. The water soluble will turn sort of gooey and melt when submerged in warm water. The tear away needs to be trimmed away with small scissors. (Tear away is the kind you'll most often see on commerical machine embroidery.) If you don’t mind the stabilizer remaining, use a lightweight or mediumwight fabric interfacing or a spare piece of cloth to add some strength.

Now that you have all our supplies, you’ll need a design to embroider. There are many pre-printed hot iron transfers available. In stores, most of the ones you’ll see with be Aunt Martha’s, but you may also find some from Sublime Stitching. You can also find or draw your own patterns. Below are some places I like to try, but many designs and pictures translate well into embroidery.

http://www.flickr.com/groups/341081@N20/pool/
http://www.needlecrafter.com/patterns.html
http://www.stencilry.org/
http://www.loc.gov/pictures/

Ready to get started? I'll be going into transfer methods in the next post.

Wednesday, February 9, 2011

March All Arts Market

If you're in the Charlotte area, come see me next month at the Nodarioty All Arts Market. I had a great time at the December one, and I'm gearing up to start sewing some new stuff for the next one. I'll be introducing some embroidery kits and pattern packs as well. Excited!

Sunday, February 6, 2011

Holy Smokes, Batman!

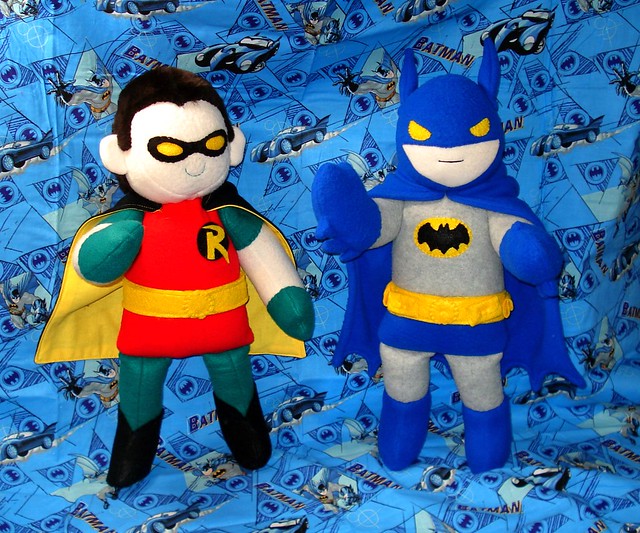
Sometimes the hardest part of making commissioned dolls is sending them off when they're done. This is one of those times.


Man, do I want to keep this little Batman and Robin for my very own! They have tiny little belts and tiny little boots and I want them to be with me always to protect me from kitschy and ineffective evildoers. But alas, duty calls and they must hurry off to fight evil someplace else.


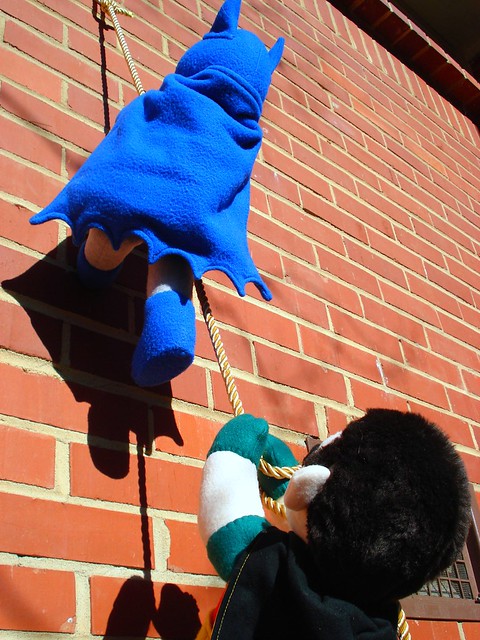
Here they come...


...and there they go. Good luck, Dynamic Duo!

Thursday, February 3, 2011

Embroidery, Embroiderah!


The January Make Out was an absolute blast and definitely something I'd love to do again. It was wonderful to see so many people invovled in and excited about a craft that I enjoy so much. But there is still so much to learn about embroidery that there just wasn't enough time to go over. On that note, this month I'll be posting some basics tips, tricks, and techniques. (Hopefully with videos if I can bribe my boyfriend into some cinemotgraphy.)

While I'm plotting, I'd love to know if there are any specific questions that anyone would like answered about embroidery. Tools, techniques, how to do certain stitches and when to use them, transferring patterns, whatever! I've had a few questions on the Make Out post and I'm happy to answer more.

Sunday, January 30, 2011

Talkin' 'Bout My Resolution

I've always been a bit spotty about making and keeping resolutions. There are the ubiquitous ones like losing weight and saving money. There are the abstract ones like being a better person or laughing more. Generally, I like to fall somewhere in between, and I find making plans rather than just goals a lot more helpful. So here goes...

1. Make crafting a priority
My job is far from fulfilling as a creative outlet, but often I let myself get lazy when I get home. While I have to remember that I need time to rest, crafting is also very cathartic and therapeutic for me. It's also important to make it a focus if I want to reach my eventual goal of owning my own fabric store and studio.


2. Be more active
I don't mean just physically, although that is part of it. I feel better and have more energy when I get a bit of exercise, not to mention crack Bats up with my antics on Wii Sports. (I am not the most coordinated person.)
I also want to just do more. More craft fairs, more with Crown Town Handmade, more with Bats, more with friends. I need more experiences and connections. I think that's also going to tie into my first goal. I'm excited for some of the crafting and convention fun I already have planned.


3. Don't be so hard on myself
I know that I am my own worst enemy. I will stop being so hard on myself for flaws that only I seem to see.

4.Stop spending money for no reason
I am horrible about spending money on nothing for no reason. This year I want to be much better about spending and buying and saving and making what I have work. I'm thinking of setting a monthly limit for all non-essentials and posting purchases to my blog so I have to be accountable. (Being an adult is stupid.)

5. Continue rocking my outfits
That one is ( I hope) self explanatory. Sometimes I'm feeling lazy or in a bad mood and I just don't want to bother with putting outfits together, but it honestly does make me feel better.

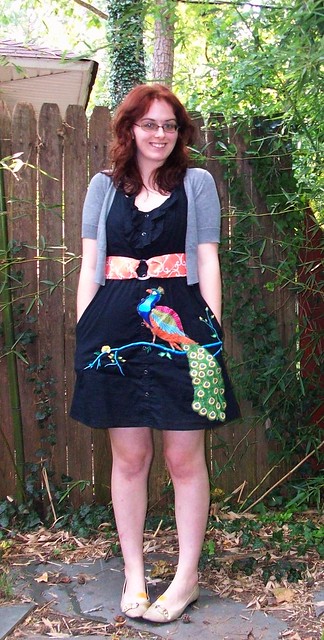
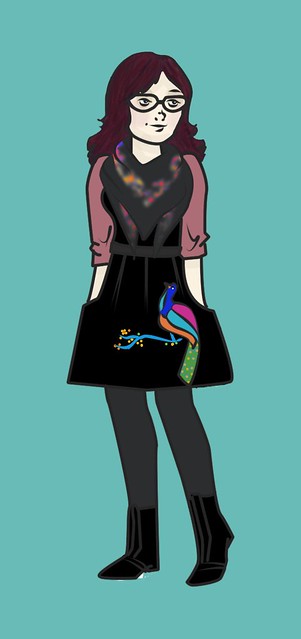
Have I mentioned I love the peacock dress? I don't feel I mention this enough. It's really hard to be a in a crappy mood with a giant peacock on your clothing.

Thursday, January 27, 2011

December Baubled Bangled Christmas Tree

In December I FINALLY got some new glasses (for the first time in about 5 years). There are very nerdy.


I wore them with the remainder of my 30 for 30 outfits. I really enjoyed doing this and it encouraged me to try some looks and mix some patterns I probably wouldn't have otherwise. It is really hard to get dressed afterwards though, so many clothes to choose from!


Bats is very big on Toys for Tots, being a huge action figure nerd. He had the idea for this Cobra Commander, which we put on Ebay for charity. He ended up going for $75. Yay!


I also participated in All Arts Market...which I just blogged about.


I also spent several days dressing in the Christmas spirit.


And wearing my many Christmas t-shirts. This is what I wore to go watch Tron.


And if you're wondering about the post titles...


Tuesday, January 25, 2011

November's Gusty Gale


In November, I participated in my first 30 For 30. I had a lot of fun with it and it's definitely something I plan to do again.


I made this awesome scarf too.

As well as several more and some little quilts in preperation for the All Arts Market in December.


And of course I wore the peacock dress.


I also made this little commissioned dolly.

Creeper!

No,  not this kind...


...or this kind...


...THIS KIND!


Don't mind the crazy face, give him a cuddle!

Creeper was part of a large set of custom dolls. I also made...


Ambush Bug with a snazzy outfit and Cheeks the Toy Wonder.


Ragman


Wrestler Colt Cabana


Wild Dog


And the main man, Lobo.

This set was insane fun to make, all the characters are interesting and almost every one offerered a new challenge or technique, like the patchwork on Ragman and the hockey mask on Wild Dog.